Create Custom Plugins for Superexpert.AI
Plugins extend Superexpert.AI by adding new functionality like custom tools, themes, or AI models. You can easily share these plugins using NPM packages.
Note: To add simple custom functions without creating a plugin, see Create Custom Tools.
Example: Creating a Web Search Plugin
In this guide, we’ll create a plugin that enables AI models to perform web searches using the Tavily API. It includes:
- Web Search (Server Tool): Activated by explicit user requests.
- Web Search Context (Context Tool): Automatically triggered with each user message.
Step 1: Clone the Starter Template
Clone the existing Superexpert.AI plugin repository to use as a base for your new plugin:
git clone https://github.com/Superexpert/superexpert-ai-websearch-tool.git
Step 2: Set Up Tavily
You’ll use the Tavily API for web searches. Sign up and get a free API key at Tavily.com.
Install the Tavily SDK:
npm install @tavily/core
Set your API key as an environment variable:
export TAVILY_API_KEY='your-api-key-here'
Step 3: Implement the Web Search Tool
Here’s the JavaScript code for registering the Web Search Server Tool:
import { registerServerTool } from "@superexpert-ai/framework";
import { tavily } from "@tavily/core";

const tavilyClient = tavily({ apiKey: process.env.TAVILY_API_KEY });

registerServerTool({
  name: "webSearch",
  description: "Perform a web search.",
  parameters: [{
    name: "query",
    type: "string",
    description: "Search query."
  }],
  async function(query) {
    const results = await tavilyClient.search(query, { language: "en" });
    return results.results.map(r => `Title: ${r.title}\nURL: ${r.url}\nContent: ${r.content}`).join("\n\n");
  },
});
Activate the tool via the “Edit Task” page:
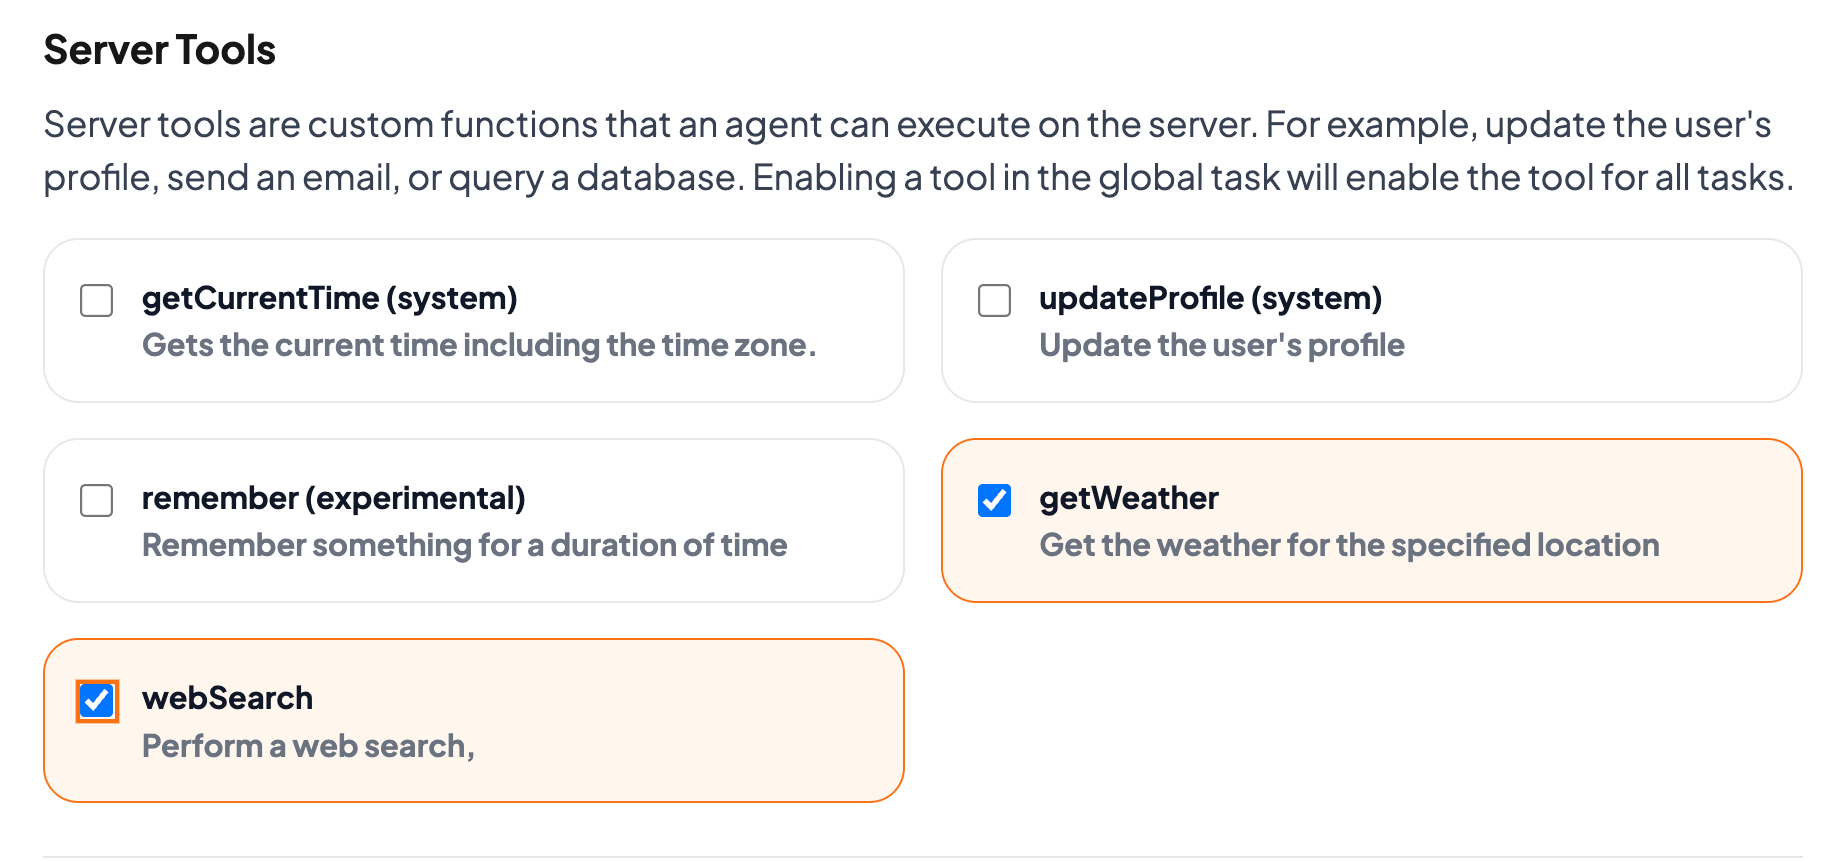 Figure 1: Activate Server Tool.
Step 4: Implement the Context Tool
Context Tools automatically augment user input. Here’s how to register a context-based web search:
import { registerContextTool } from "@superexpert-ai/framework";

registerContextTool({
  name: "webSearchContext",
  description: "Automatically perform a web search with each message.",
  async function() {
    const messages = this.messages;
    if (messages.length < 2) return;

    const lastMessage = messages[messages.length - 1];
    if (lastMessage.role !== "user") return;

    const results = await tavilyClient.search(lastMessage.content, { language: "en" });
    return results.results.map(r => `Title: ${r.title}\nURL: ${r.url}\nContent: ${r.content}`).join("\n\n");
  }
});
Enable this tool from the Context Tools section:
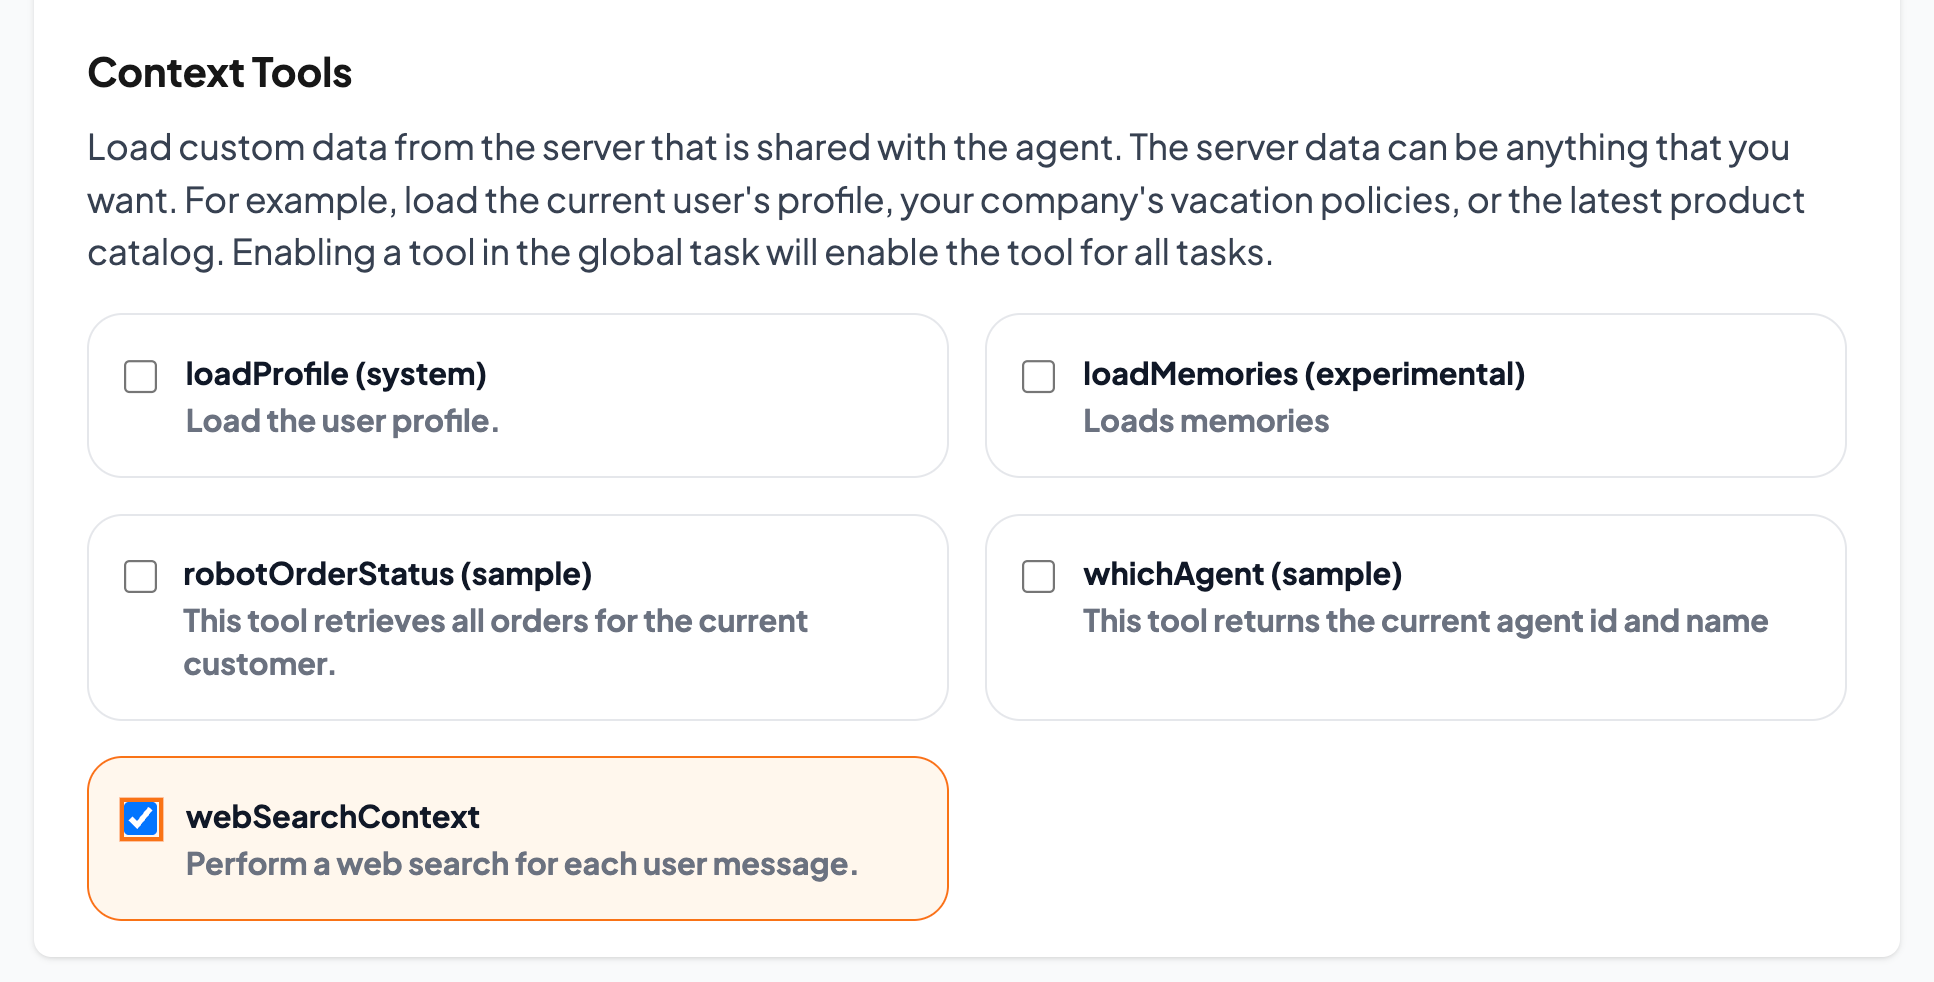 Figure 2: Activate Context Tool.
Step 5: Publish Your Plugin
To share your plugin via NPM:
- Sign up at npmjs.org.
- In your plugin directory, execute:
npm login
npm publish
Step 6: Using Your Published Plugin
Users can easily add your plugin:
- Install via NPM:
npm install @superexpert-ai/websearch-tool
- Add the plugin in
superexpert-ai.plugins.server.ts:
import '@superexpert-ai/websearch-tool';
Your plugin is now available for use!
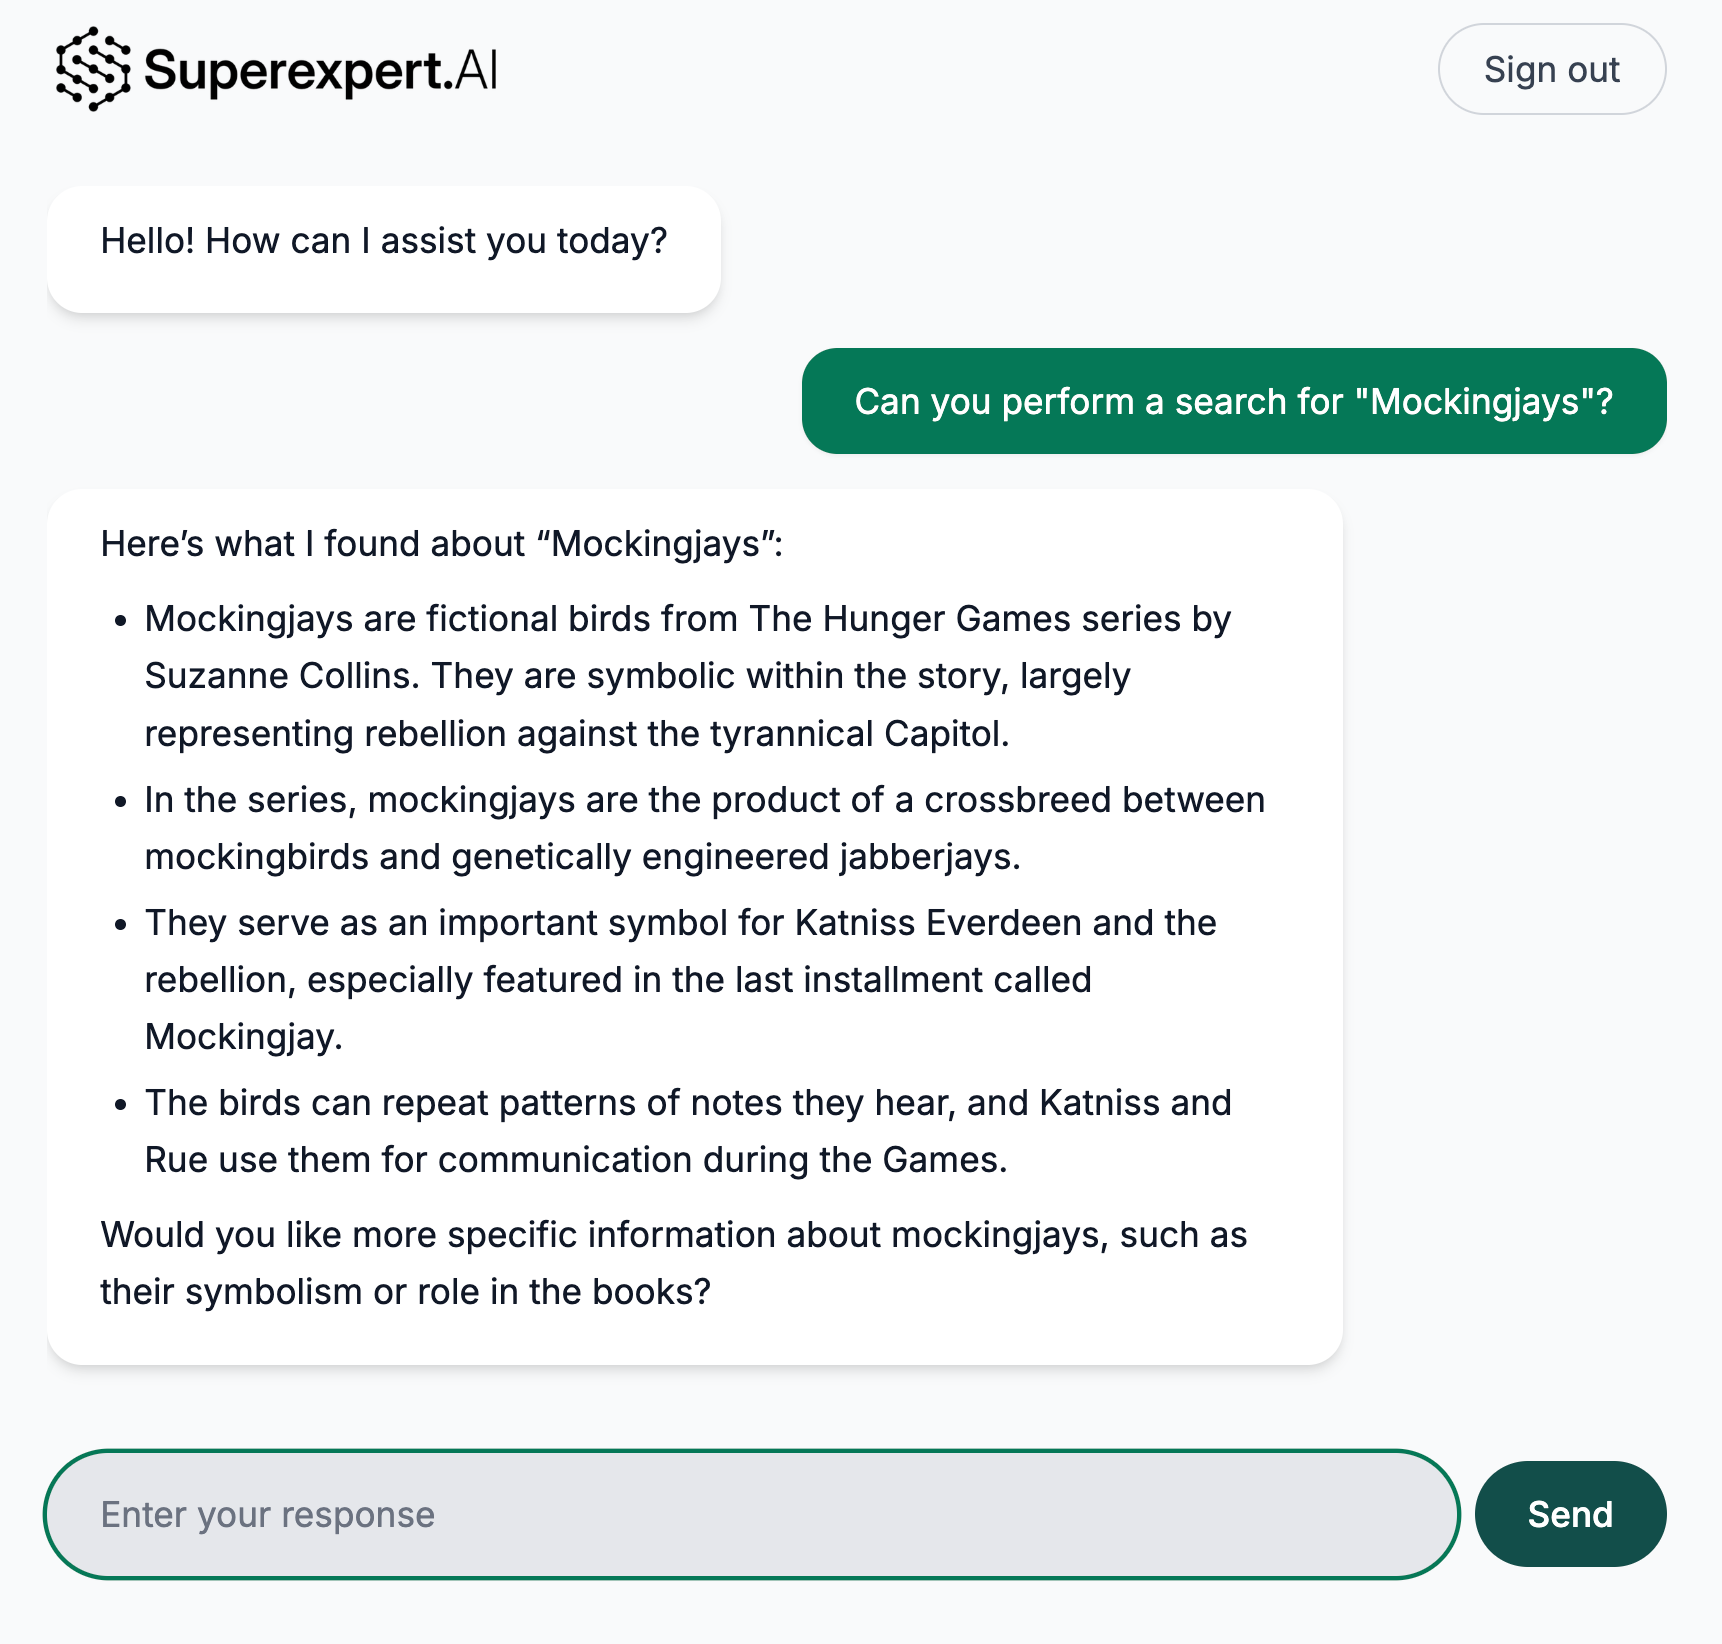 Figure 3: Using Web Search.