Quick Start: Create Your First AI Agent with Superexpert.AI
This Quick Start guide will help you quickly get started using the Superexpert.AI platform—no installation required! You’ll use the live demo site to build an AI agent for International Robots, a fictional company specializing in household robots. The Superexpert.AI platform is fully open-source; feel free to download, modify, and extend the source code as you wish.
Understanding Agents and Tasks
Superexpert.AI uses two core concepts:
- Agents: These are your AI-powered assistants. You can create one or more agents.
- Tasks: Each agent performs specific tasks. An agent can have multiple tasks, each with its own instructions and settings.
Overview of the AI Agent
In this walkthrough, you’ll create an AI agent named Robot Assistant. This agent will help customers buy robots tailored to their household needs and check the status of their orders:
- Home Task: Routes customers to the appropriate task based on their needs.
- Buy-Robot Task: Assists customers in selecting and purchasing robots.
- Order-Status Task: Provides updates on the customer’s order status.
Step 1 — Register and Set Up Your AI Agent
- Go to the Superexpert.AI demo site.
- Click the
Registerlink at the bottom of the screen to register a new account. - Immediately after registration, you’ll land on the New Agent page:
- Enter a unique name for your agent, for example:
robot-assistant-99. - Enter the following Description:
Assists customers in selecting and buying household robots and tracking their orders.
- Enter a unique name for your agent, for example:
- Click Create.
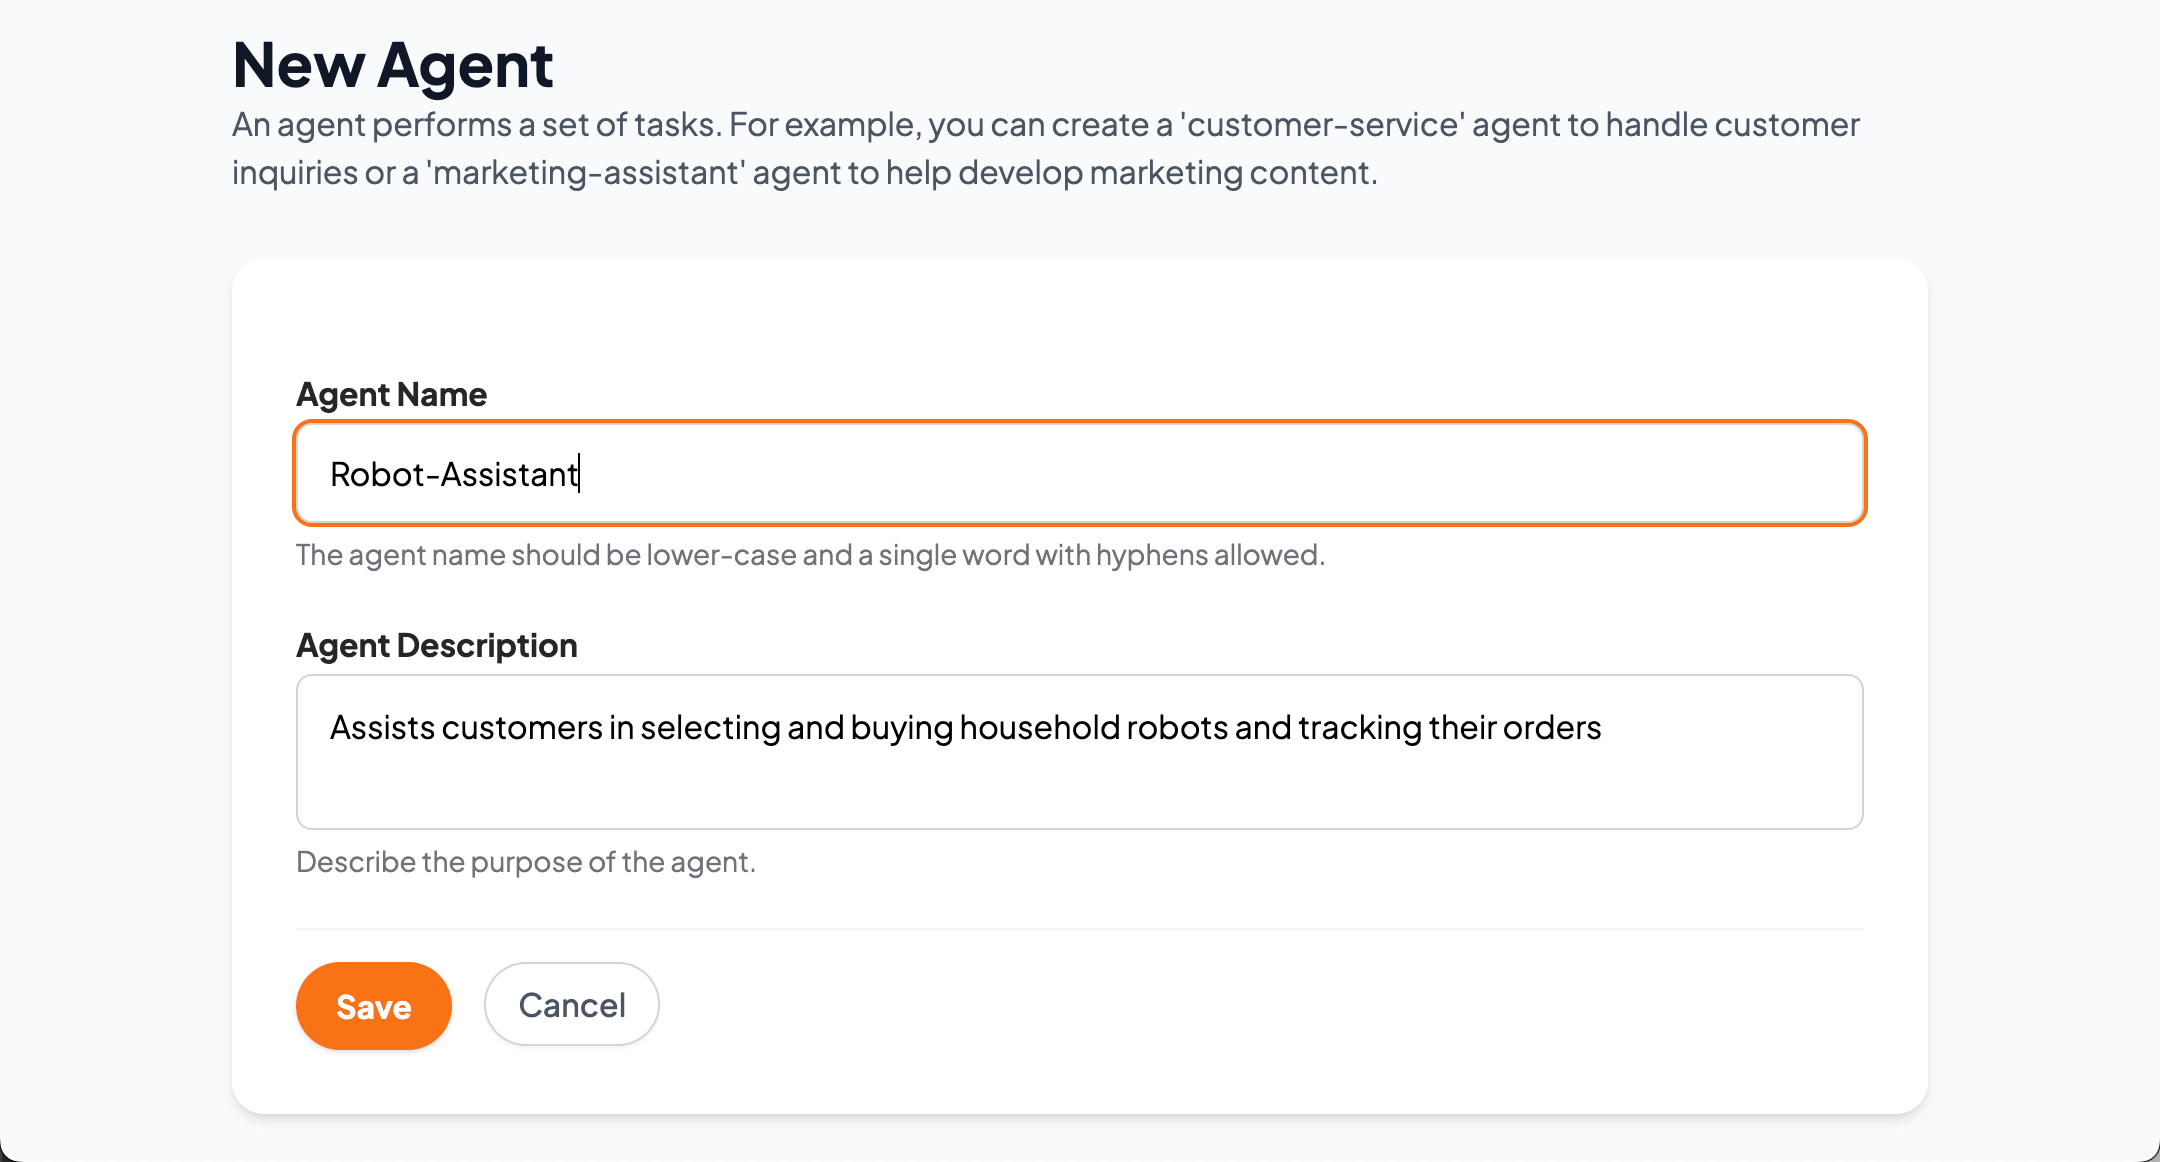 Figure 1: Creating your first AI Agent
After creating your agent, you’ll land on the Agents page, which lists your available agents. Each agent has Edit, Tasks, and Chat buttons.
Note: Agent names, like Internet domain names, must be globally unique.
Step 2 — Define the Home Task
- On the Agents page, click the Tasks button next to your
robot-assistant. - You’ll see a list of tasks including the built-in
globalandhometasks:- The global task contains settings inherited by all tasks, such as the default LLM model or theme.
- The home task is the first task executed when a user interacts with the agent.
Did you know? Superexpert.AI includes 3 built-in themes, and you can also create custom themes. Themes can be selected within the global task settings.
- Click home to edit it.
- Enter these instructions into the Instructions field in the General section:
If the user is interested in buying a robot, use the transition tool to transition to the buy-robot task. If the user needs to check their order status, use the transition tool to transition to the order-status task. - Click Save.
 Figure 2: Edit home task
Advanced Feature: Each task can use a different LLM provider (e.g., Gemini for one task, OpenAI for another, Anthropic for another). Choose the optimal model per task to enhance results and manage costs.
Step 3 — Create the buy-robot Task
- From the Tasks page, click New Task.
- Name the task:
buy-robot. - Provide the description:
Helps customer to buy a new robot. - Paste these instructions into the Instructions field field in the General section:
Chat with the customer to understand their household needs, suggest suitable robot models, and complete the purchase using the secure payment confirmation dialog. - Enable the Show Robot Payment Consent Client Tool. Expand the Tools tab and check the showRobotPaymentConsent tool in the Client Tools section.
- Click Save.
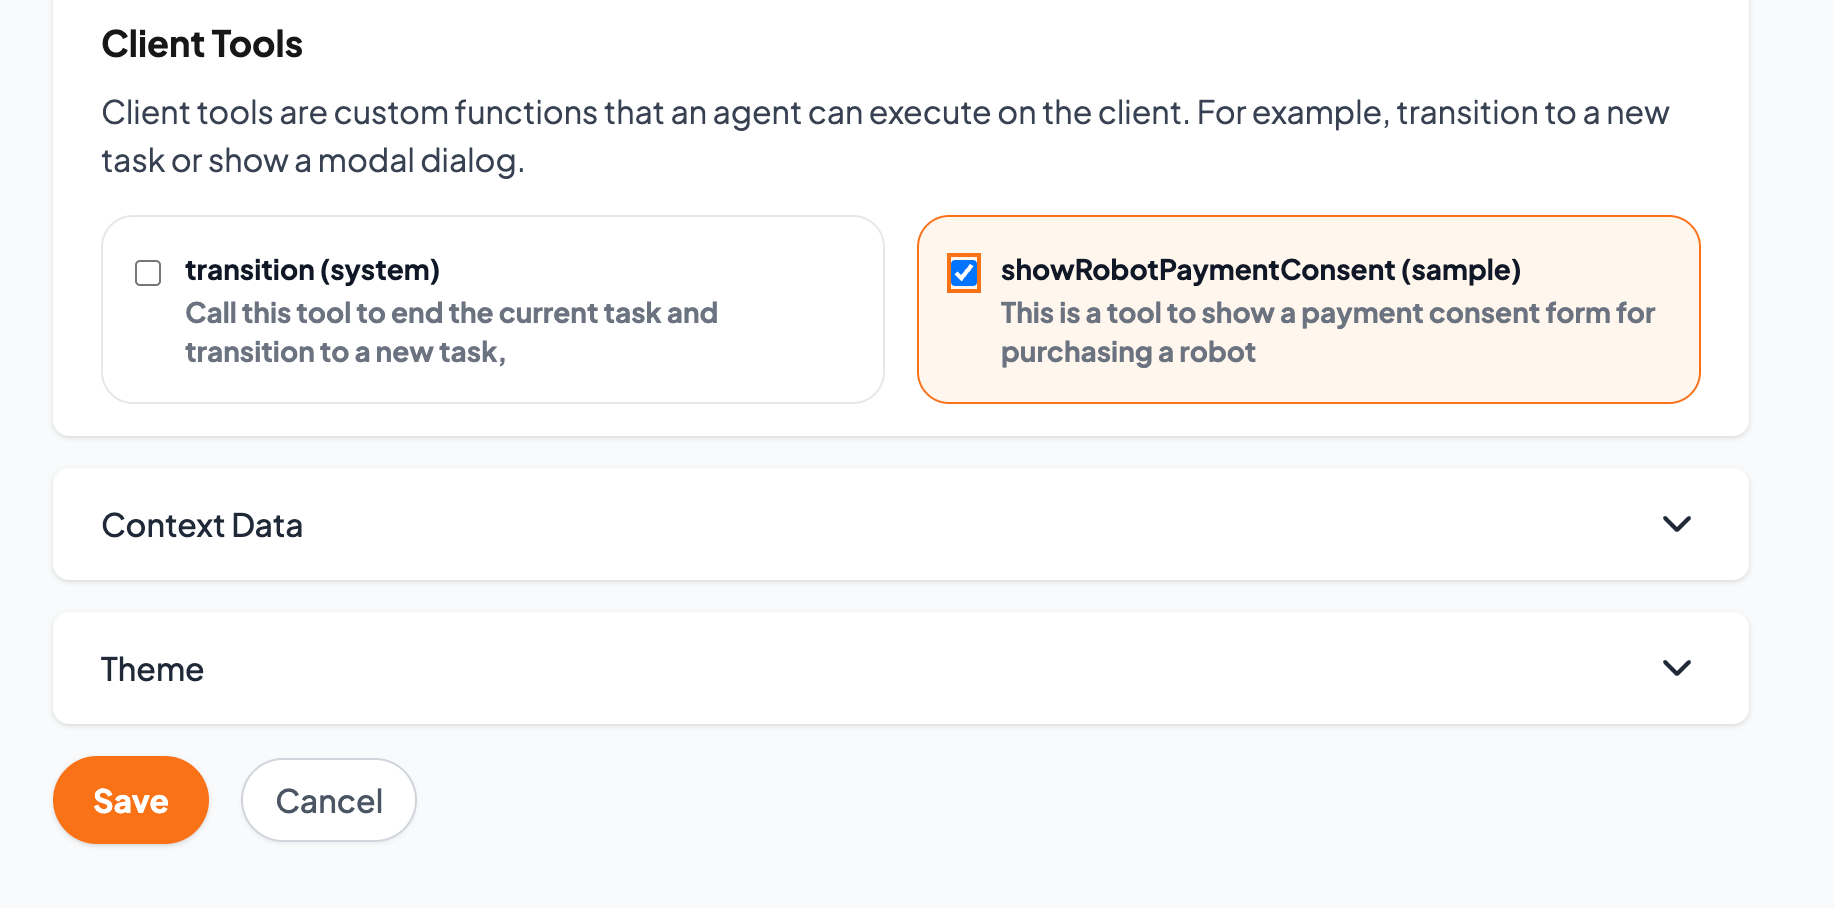 Figure 3: Enable Show Payment Consent Client Tool
Custom Tools Made Easy: Easily create custom Client, Server, or Context Tools by registering a JavaScript (TypeScript) function with
registerTool(). These tools seamlessly integrate with all LLM models.
Step 4 — Create the Order-Status Task
- From the Tasks page, click New Task.
- Name the task:
order-status - Enter the description:
Enables customers to check on their order status. - Paste these instructions into the Instructions field:
Immediately share the current shipping status, expected delivery date, and tracking details for the customer's orders without asking the customer for additional information. - Enable the Robot Order Status Context Tool. Expand the Context Data section and scroll down to Context Tools. Check the checkbox for the *Robot Order Status tool.
- Click Save.
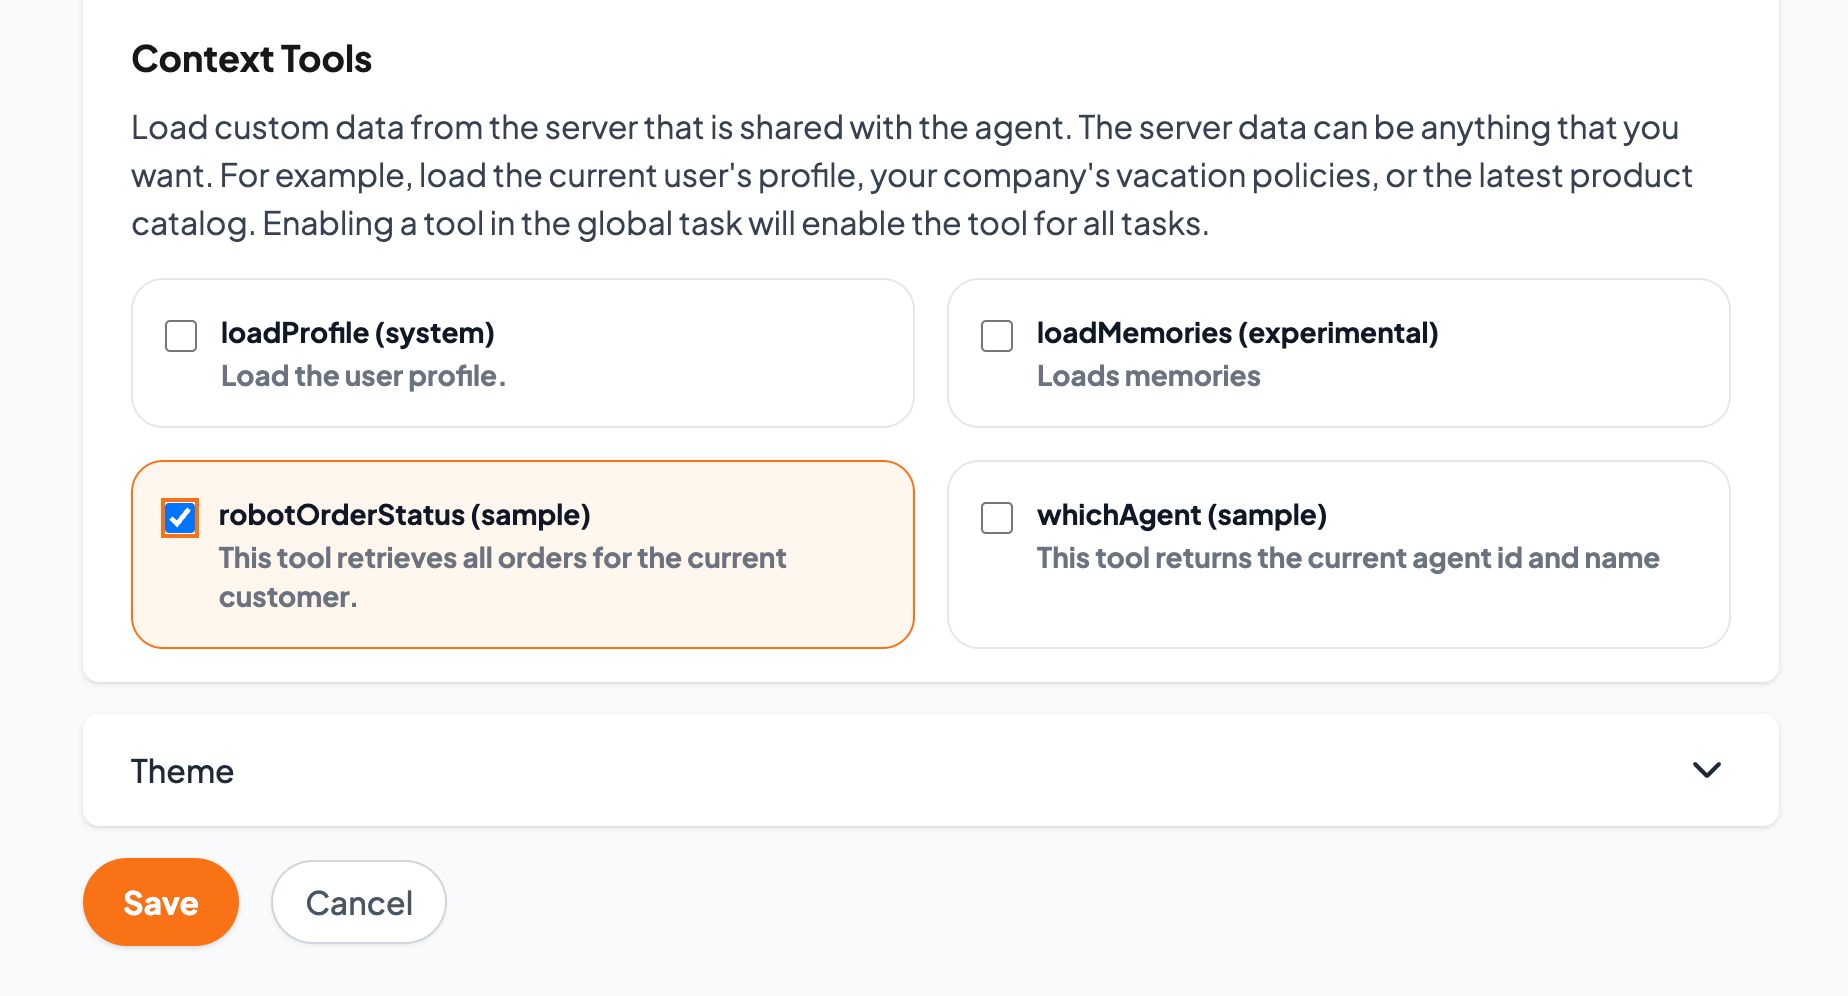 Figure 4: Enable Robot Order Status Context Tool
Advanced Feature: Attach extensive robot catalogs directly to tasks or leverage RAG (Retrieval-Augmented Generation) for efficiently handling large data sets.
Step 5 — Test Your Agent
- Return to the Agents page, and click Chat next to your
Robot Assistant. - Try out purchasing a robot.
- Check order statuses.
 Figure 5: Chat with robot-assistant
Your Robot Assistant is ready to help customers enjoy their new robots!
Advanced Feature: You can view when an agent transitions between tasks (for example, between the
homeandbuy-robottask) by opening your browser’s Developer Console.