Installation Walkthrough: Set Up Superexpert.AI in Minutes
This walkthrough will guide you through setting up the Superexpert.AI platform on your local machine. Follow these simple steps to get your AI agent up and running in minutes!
Prerequisites
Make sure you have the following installed:
- Node.js (18.18 or later)
- PostgreSQL
- pgvector (required for vector embeddings)
Step 1 — Install Node.js
- Check if you have Node.js installed by running:
node -v - If Node.js is not installed, download it from nodejs.org.
Step 2 — Clone Superexpert.AI and Install Dependencies
- Clone the repository:
git clone https://github.com/Superexpert/superexpert-ai.git - Navigate into the project directory and install dependencies:
cd superexpert-ai
npm install
Step 3 — Set Up PostgreSQL
- Check your PostgreSQL installation:
psql --version -
If PostgreSQL is not installed, download it from PostgreSQL.org.
- Create the database:
psql CREATE DATABASE superexpert_ai_db; \q - Configure your database connection by creating a
.envfile in the project root:DATABASE_URL=postgresql://username:password@localhost:5432/superexpert_ai_dbReplace
usernameandpasswordwith your database credentials. - Migrate your database to set up the necessary tables:
npm run migrate
Note: The Superexpert.AI GitHub repo includes a .env.example file to help you set up your .env file.
Step 4 — Install pgvector
pgvector enables vector embeddings, enabling RAG and greatly enhancing search capabilities.
Install via Homebrew:
brew install pgvector
For other installation methods, see pgvector’s GitHub page.
Step 5 — Configure LLM Provider API Keys
To enable your Superexpert.AI agent to interact with various language models, you’ll need to set up API keys for each provider you intend to use.
- Obtain API Keys:
- OpenAI: Sign up and generate an API key at OpenAI’s API page.
- Gemini (Google): Create an API key through Google Cloud Console.
- Anthropic: Request access and obtain an API key from Anthropic’s website.
-
Update Your .env File: In the root directory of your Superexpert.AI project, open the .env file and add the following lines, replacing
with your actual API keys: OPENAI_API_KEY='<Your Key>' GEMINI_API_KEY='<Your Key>' ANTHROPIC_API_KEY='<Your Key>'Ensure there are no extra spaces or quotes beyond what’s shown.
- Security Best Practices:
- Do not commit your .env file to version control systems like Git.
By configuring these environment variables, your Superexpert.AI agent will be equipped to utilize the capabilities of OpenAI, Gemini, and Anthropic language models.
Step 6 — Configure Authentication with NextAuth.js v5
Superexpert.AI comes pre-configured with NextAuth.js v5 for authentication. To enable it, you need to set the following environment variables in your .env file:
NEXTAUTH_URL='http://localhost:3000'
NEXTAUTH_SECRET='<Your Secret>'
- NEXTAUTH_URL: Set this to the base URL of your application. In development, it’s typically http://localhost:3000.
- NEXTAUTH_SECRET: This secret is used to encrypt session tokens and other sensitive data. You can generate a secure secret using one of the following methods:
- Using OpenSSL:
openssl rand -base64 32 - Using an online generator: https://generate-secret.vercel.app/32
- Using OpenSSL:
Ensure that you keep this secret safe and do not expose it publicly.
Step 7 — Run Superexpert.AI Locally
Start your Superexpert.AI instance:
npm run dev
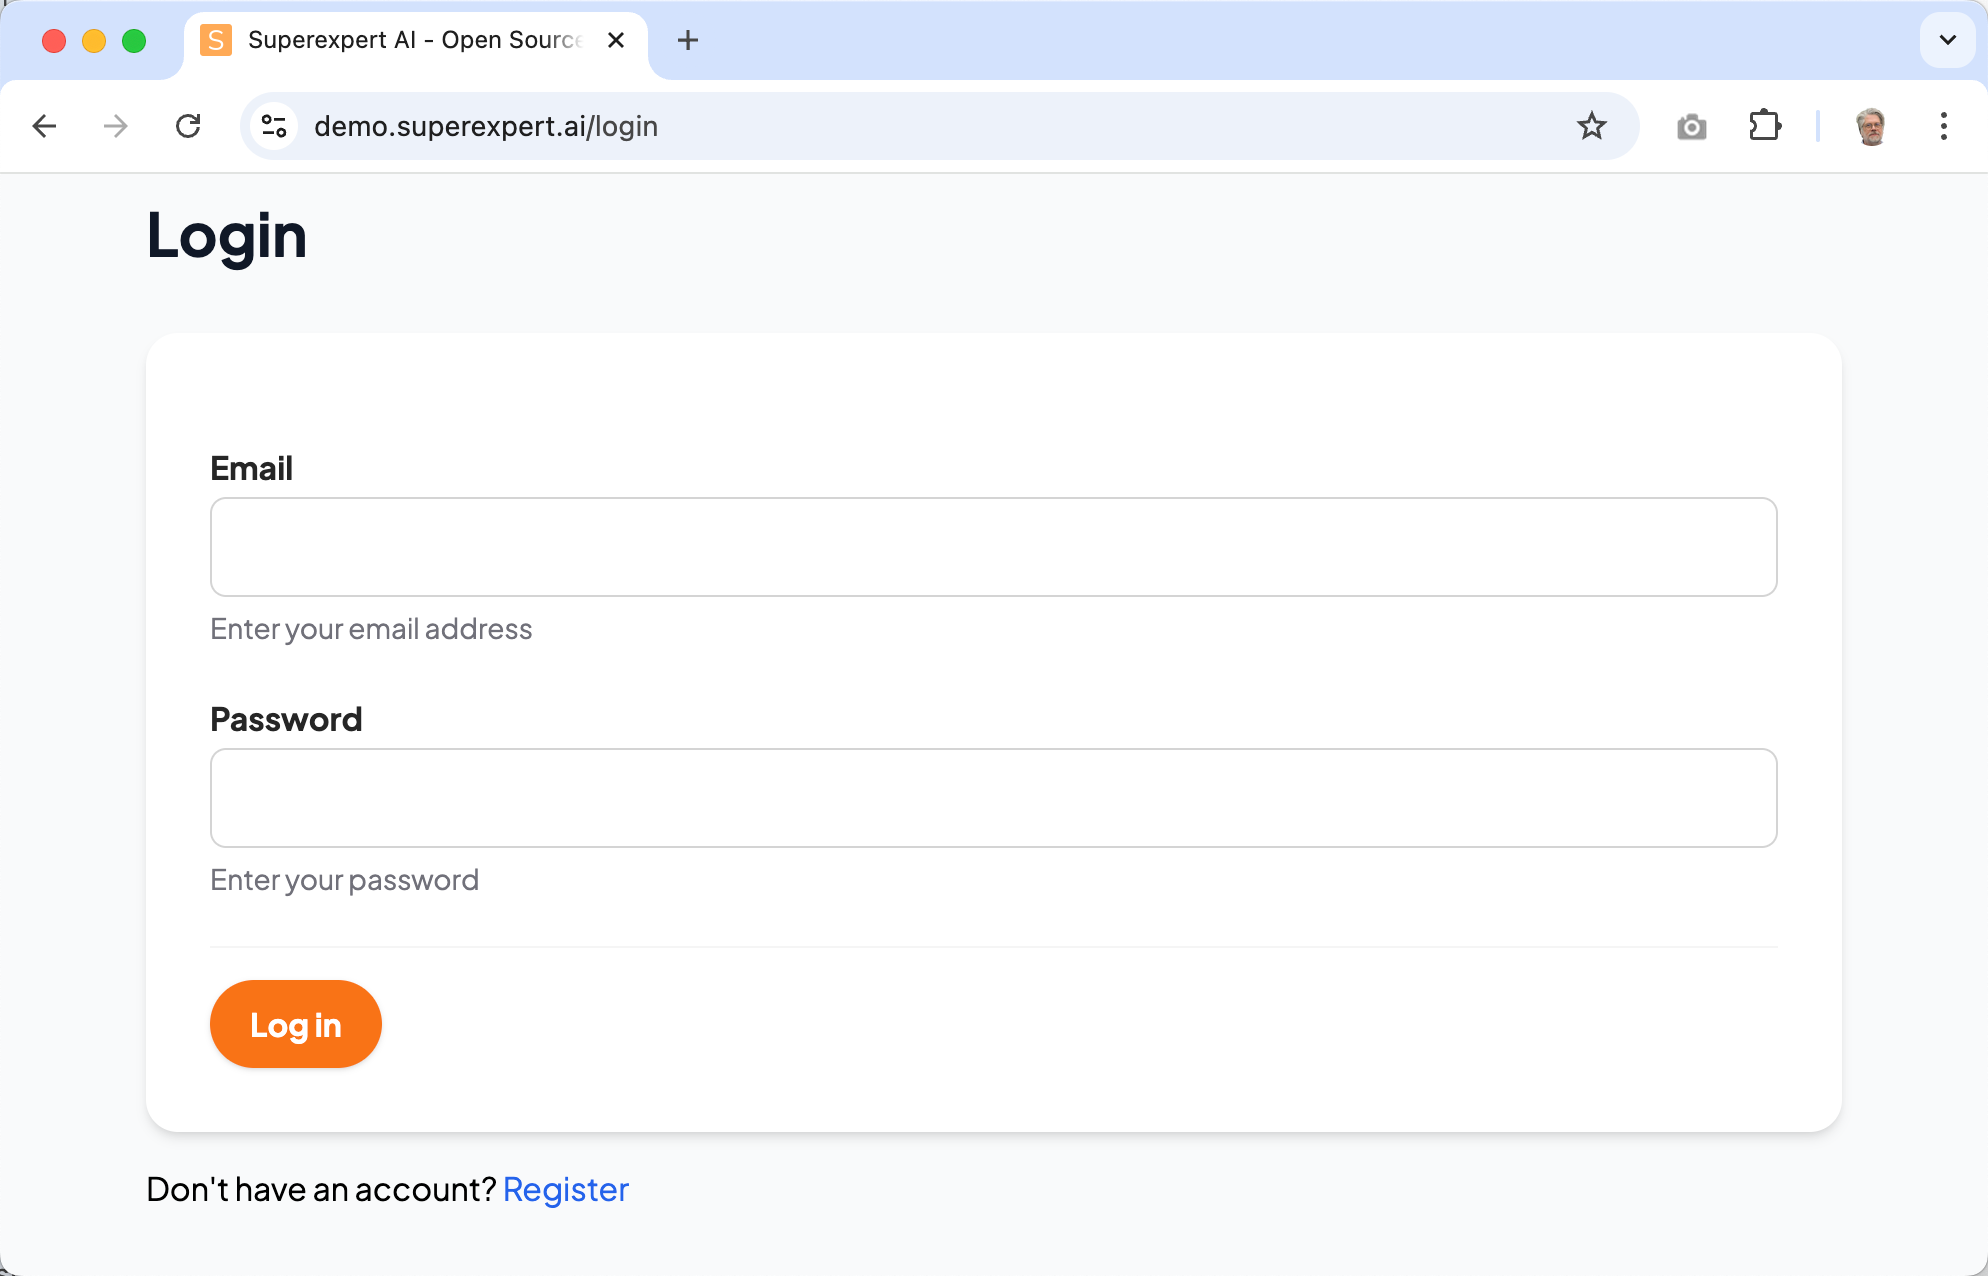
Open your browser and navigate to http://localhost:3000. You should see your Superexpert.AI instance up and running! Click the Register link at the bottom of the Login page to create a new account.
 Figure 1: Superexpert.AI running locally.
Your local Superexpert.AI installation is now ready! Start creating AI agents and tasks tailored to your project’s needs.